Founded in 2015, OpenAI has revolutionized the field of natural language processing with its most potent language model, GPT-4. By providing developers access to the OpenAI API Keys, developers can leverage the capabilities of GPT-4 to create a wide range of applications and services. Our particular interest is the integration between OpenAI’s ChatGPT and Zoho ecosystem. But in order to use that integration, you’ll need a paid OpenAI API subscription. Even if you already subscribed to ChatGPT as a service; these are different products.
In this post, we will guide you through the process of creating OpenAI API keys and setting up a paid account, allowing you to unlock the full potential of the OpenAI API.
What is an OpenAI API Key?
An OpenAI API key is a unique identifier that authenticates your communications with the API. It’s crucial to remember that your API key is intended for your exclusive use, and distributing it is a violation of the Terms of Use. As you venture into experimentation and consider broadening API access to your team, remember that OpenAI explicitly prohibits sharing API keys.
Step 1: Sign up for an OpenAI Account
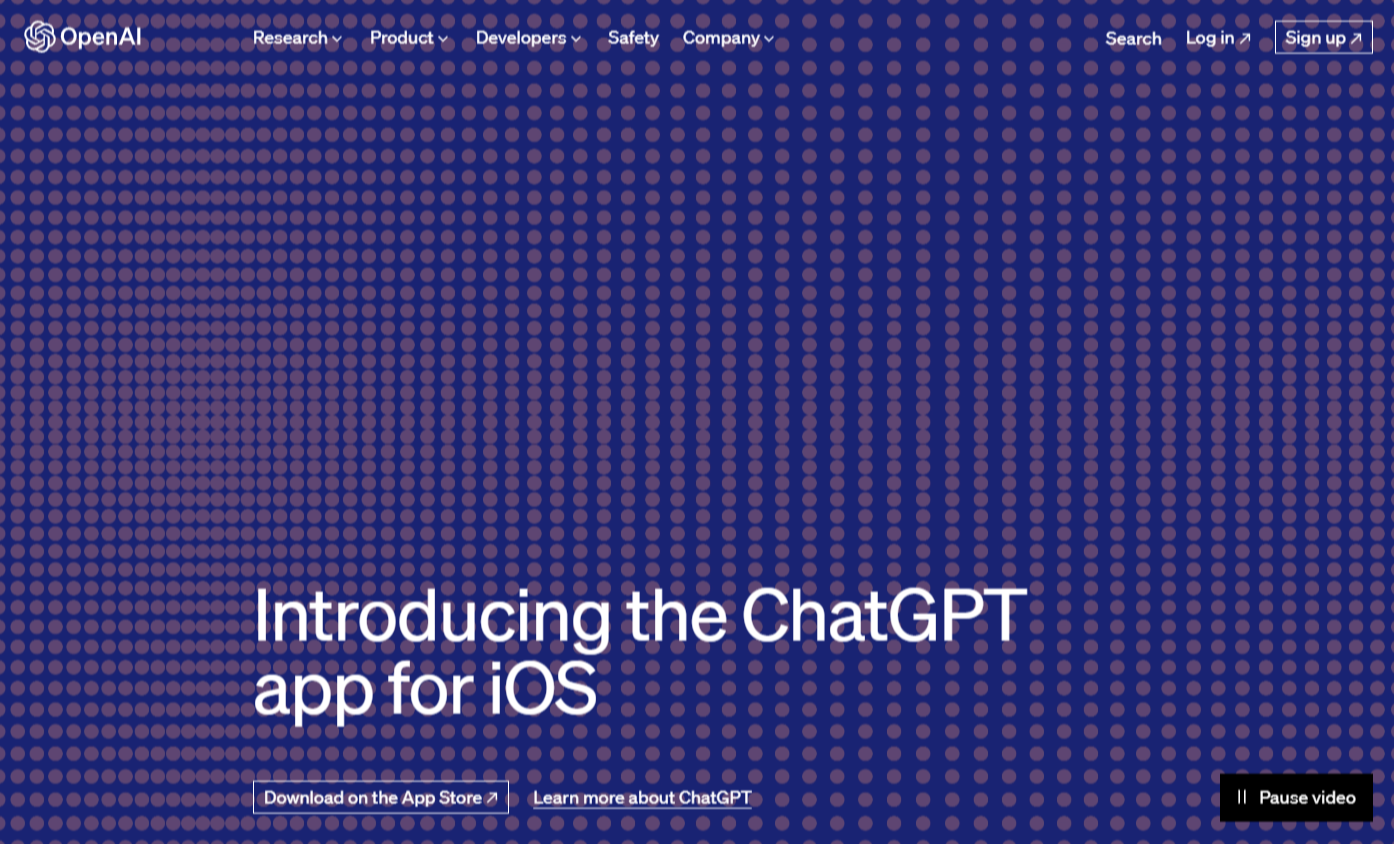
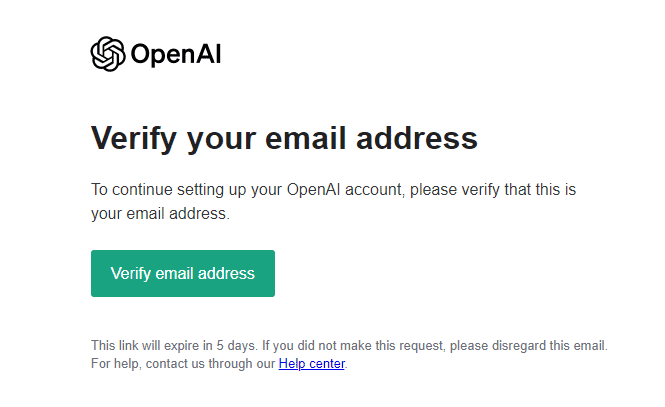
To begin, visit the OpenAI website (https://www.openai.com) and click the “Get Started” button. You will be redirected to the signup page. Fill out the signup form, including your name, email address, and password. Once completed, submit the form and proceed to the next step.
Step 3: Navigate to the OpenAI API Platform
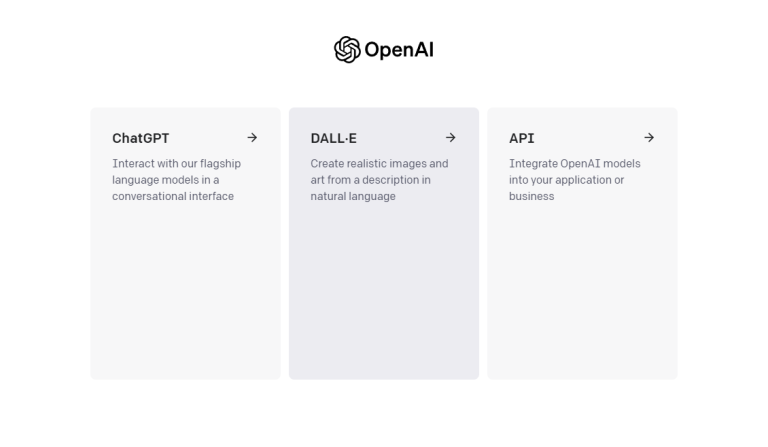
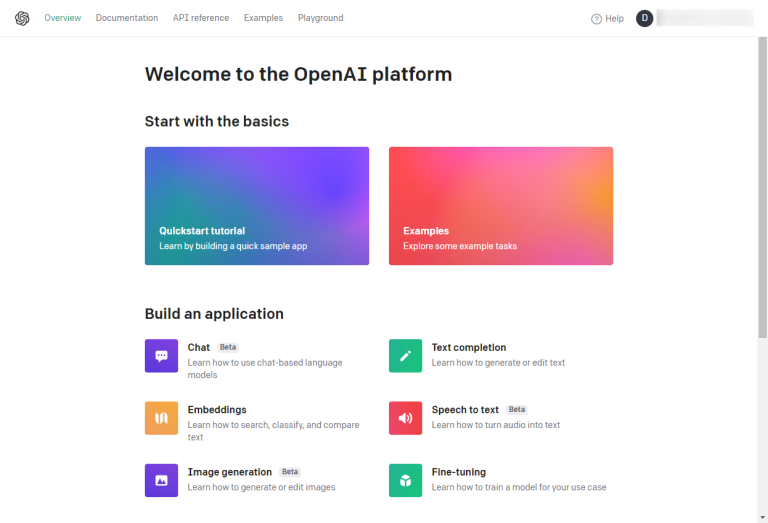
Once your email address is verified, log in to your OpenAI account. On the OpenAI website, click the [LOGIN] button in the top navigation menu. On the next screen, select “API,” and you’ll be redirected to the main screen of the OpenAI Platform.
Step 4: Create Your OpenAI API Keys
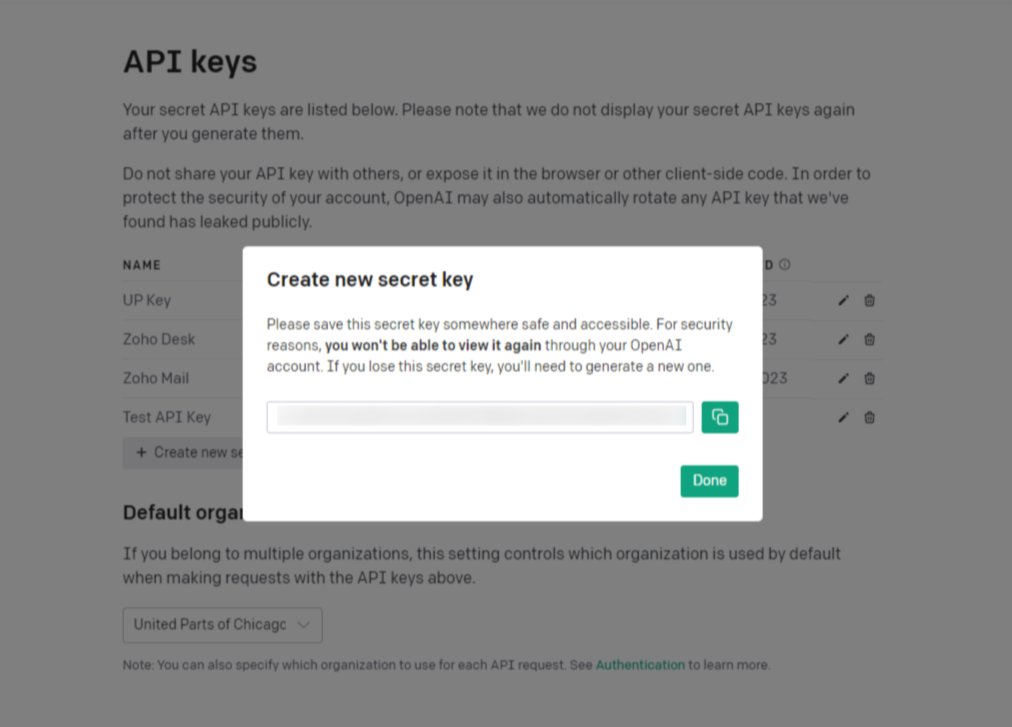
On the OpenAI Platform home screen, click on your avatar in the top right corner. On the API Keys page (https://platform.openai.com/account/api-keys), click the “Create a new API key” button. You will be prompted to provide a name for your API key, which ideally should reflect its purpose. For example, our API key for Zoho Desk is blatantly called… “Zoho Desk.” Not much fantasy over here, right? After entering a suitable name, click the “Create API Key” button to generate your key.
Warning: store this key in a secure location. Due to security protocols, it will not be visible again in your OpenAI account. Should you misplace this confidential key, you’ll be required to create a new one.
Step 5: Set Up a Paid Account
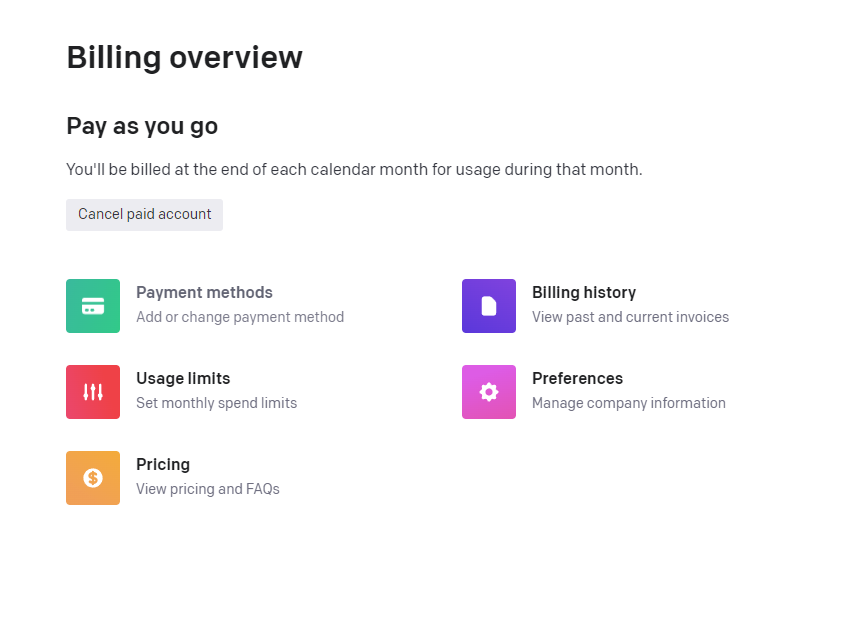
To access GPT-4 and other paid features, you must set up a paid account with OpenAI. On the OpenAI API Keys page, click the “Billing” tab in the left sidebar. You will be redirected to the billing overview page where you can enter your payment details and select a plan. In most cases, it will be “Pay-as-you-go” — you’ll be billed at the end of each calendar month for usage during that month. OpenAI also offers a plethora of pricing options for those who know how to use them.
By following these steps, you can create OpenAI API keys and set up a paid account, enabling you to harness the power of GPT-3.5 and the latest version, GPT-4, for your Zoho applications and other projects.
Remember to review the OpenAI API Reference, which provides comprehensive guidance on integrating the API into your applications and maximizing its capabilities. With the OpenAI API at your disposal, you can unlock endless possibilities in natural language processing and build impressive solutions that leverage the power of GPT-4.
Up next: how to integrate OpenAI with Zoho’s Zia, and what Zoho applications can you integrate with ChatGPT?
-
All you need to know about GPT-3, Codex and Embeddings
-
How the OpenAI billing works
-
An official API documentation
